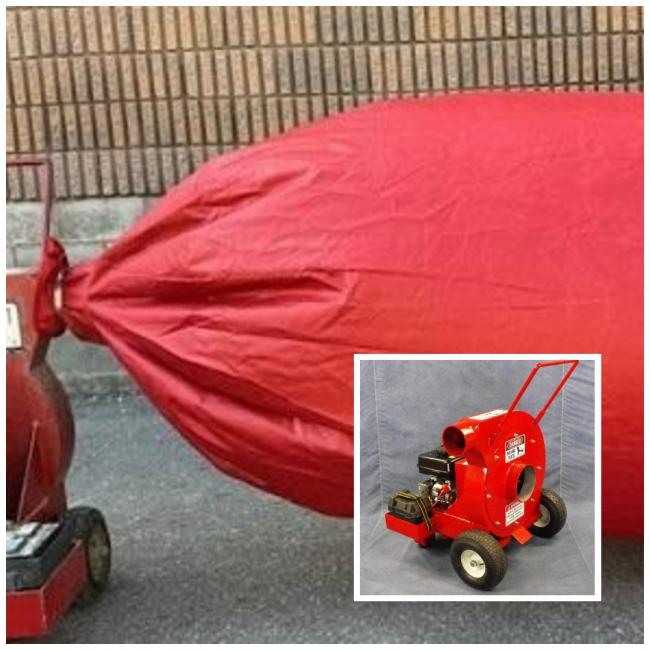
Preparing Your Insulation Removal Vacuum For Busy Season

As an industry professional, you know the peak season for insulation removal is not far off. So the question is - are you prepared to face the busiest months of the year?
Also, is your equipment ready to perform under pressure? Because if it’s not, it might quickly turn into a jobsite liability. Especially if it hasn’t been properly maintained. Negative consequences can follow, including unexpected downtime, frustrated clients, and costly repairs.
You can escape all the hassle by simply preparing your insulation removal vacuum to ensure it is ready to tackle the most job-intensive time of the year. Whether you’re dealing with a mold remediation project or an attic cleanout, having a well-prepared vacuum on your team ensures productivity and efficiency.
Below is a comprehensive checklist that will help you get your insulation removal vacuum functioning well and peak-season-ready!
1. Check the suction hose for wear and tear
Your vacuum’s workhorse, its suction hose can carry your machine through high-demand periods without a hitch. Only if it’s in good condition though so be sure to check it for:
- Cracks, splits, or thinned and worn-down sections
- Kinks or severe bends that restrict airflow
- Corroded or loose connectors and clamps
If you notice signs of damage on your suction hose, it might be a good idea to replace it with a heavy-duty alternative. You can try our flexible and abrasion-resistant hose in this regard.
2. Inspect the filters closely
Your insulation removal vacuum’s filters play a critical role in maintaining its suction power. Filters also keep the engine safe from microdust that arises during insulation removal. If your machine is overheating or delivering subpar performance, chances are its filters are very dirty or heavily clogged.
Here’s what you can do:
- If you have reusable filters, clean them with compressed air or as the manufacturer recommends
- If you have disposable filters, check if they’re damaged or feature excessive buildup so you can promptly replace them
3. Top off fluids
This is only applicable if your insulation removal vacuum works on a gas-powered engine. In that case, you should check all fluid levels before putting it to work. These include:
- Engine oil
- Fuel
- Hydraulic fluid (if your model uses it)
You should also check your machine for leaks - especially around its gaskets and seals or other similar fittings. That said, periodically changing the oil will ensure your vacuum functions smoothly even if it has been on the bench for a while.
4. Check your stock of insulation bags
Do you have enough insulation removal vacuum bags to last you this busy season without requiring an urgent restocking exercise? If you’re not sure, you should check and restock insulation bags of high quality that feature:
- Tear-free design with proper seals
- Clogs or residue-free discharge ports
- Secure fasteners to keep onsite leaks at bay
5. Test run your equipment before the rush begins
Waiting until the first job of a hectic season to know your machine is not working as needed can cost you dearly. Best do a dry run of your insulation removal vacuum with the following pointers in mind:
- Let the engine warm up properly after you start it
- Test suction power and capacity with filled and empty hoses
- Check if the machine rattles, grinds, or surges
- Watch out for exhaust smoke or beyond normal vibration
This simple test will help you detect potential issues with your insulation removal vacuum so you can fix them before they cost you more.
6. Inspect small parts
Every vacuum has small parts such as nuts, bolts and fittings throughout its construction, so make sure you tighten any loose parts and lubricate moving parts. You can also review:
- Belts and pulleys
- Seals and gaskets
- Grommets and insulation around the intake spot
Worn-down small parts can lead to bigger performance issues later on, so ensure they are in order.
Conclusion
Readying your insulation removal vacuum before the busy season kicks in is a smart move. It’s a strategy that ensures clean, efficient, and speedy results while avoiding costly setbacks. So, make sure you follow this insulation removal equipment checklist. And if you need a brand new vacuum or parts and accessories, consider Heat Seal Equipment Ltd. Contact us to get robust insulation removal equipment that can tackle the busiest of times.


