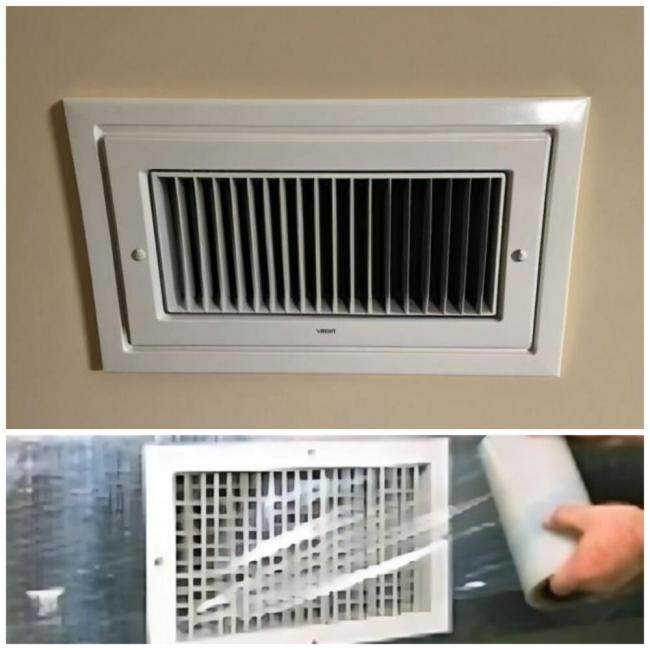
Avoiding Surface Damage: Tips & Tricks For Using Duct Masks

A must-have for any HVAC professional, contractor or even a DIY enthusiast for that matter, duct masks play a crucial role during duct cleaning as well as HVAC maintenance. Though its primary purpose is to protect ductwork from debris, dust as well as other contaminants, improper use of duct masks can lead to situations where the opposite happens.
Projects such as construction work, renovations, or maintenance can be a huge source of dust and debris. If duct masks are not installed properly during such tasks, their efficacy might be greatly reduced. Hence, it is crucial for professionals to thoroughly follow the do’s and don’ts of duct mask installation and removal. In this blog, experts from Heat Seal Equipment Ltd. will list the best practices for using duct masks to ensure surfaces remain damage-free.
The Importance of Proper Duct Mask Installation and Removal
Designed to have an adhesive layer on one side, duct masks are supposed to stick to vents or the surface of ducts. Applying this adhesive film the right way is a must to create a proper seal. Incorrect application can leave gaps, which can cause contaminants and debris to enter the system, resulting in damage.
Similarly, incorrect removal of duct masks can be problematic too. The adhesive might leave a residue and paint might peel off from delicate surfaces, thus damaging the area. However, incidents like these can be avoided with proper installation and removal techniques.
How To Install Duct Masks The Right Way
1. Clean the chosen surface
Be it a vent or a duct opening, the key is to thoroughly clean and dry the surface area before application. Cleaning with a damp cloth and a mild cleaning solution is recommended as it is effective in removing grease, dust and debris. A clean and dry surface ensures the adhesive sticks properly.
2. Measure the area to be covered
Duct masks generally come in rolls so it is wise to measure the dimensions of the vent to be covered before the mask can be cut to an appropriate size. Leaving a couple of extra inches on all sides is recommended as it ensures a secure seal.
3. Begin at the edges
Peeling back a small portion of the adhesive side of the mask and starting at the edges of the vent ensures perfect alignment. A straight and correctly positioned mask will stay secure.
4. Smoothen the mask
Pressing the mask firmly in place with the help of a squeegee or one’s hands will ensure it sticks properly, devoid of any air bubbles or wrinkles. This will create a tight seal.
5. Secure the edges
With the help of a squeegee, press down the edges firmly to ensure a secure fit. Consider using painter’s tape on the edges to reinforce the seal for extra security.
How To Remove Duct Masks Without Damage
1. Begin at the corners
Just like with application, starting at the corners is necessary for the proper removal of duct masks. Be sure to be gentle while lifting the mask to avoid scratching the surface. If the adhesive is too strong, use a hair dryer to warm it up and loosen its strength so it can come off easily.
2. Go slow
Slowly peel the mask, maintaining a 45-degree angle while pulling it back. Hastily pulling the mask can damage the surface underneath it. Ergo, going slowly and carefully is recommended.
3. Remove residual adhesive
Use a mix of warm water and dish soap to clean any adhesive residue. An adhesive remover can also be used for effective results. Steer clear of harsh abrasives or chemicals for residual removal as they can damage the surface.
4. Check the surface
Once the duct mask has been removed successfully, inspect the surface for residue or damage. If any issues are found, address them promptly to restore the vent to its original condition.
Conclusion
Just as important it is to follow instructions for the proper application and removal of duct masks, so it is to use the right duct mask. Heat Seal Equipment Ltd.’s duct mask roll is easy to install and remove and does not cause any damage to the surface. Contact us to get high-quality duct cleaning tools.


